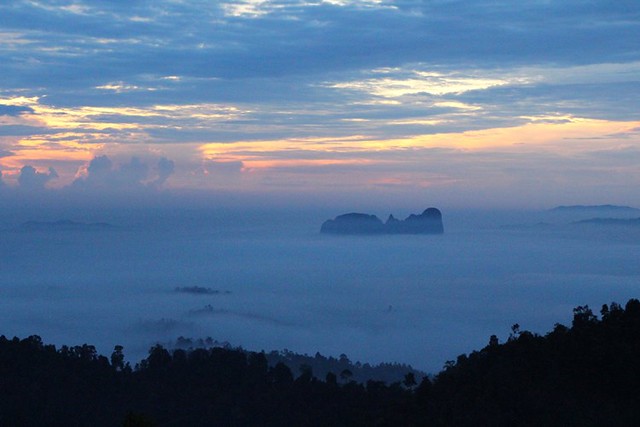
At first, I was planning to put this post title as "sunrise on bukit Panorama Sg.Lembing" . But we were not lucky enough to view sunrise, because the cloud was too thick, so no choice have to change this post title ^_^. Also give us another excuses to visit this place again. Now I realized that to view sunrise is tougher than to view sunset (we have nice
sunset at Tanah Lot Bali). We have to woke up early morning (about 4.30am), climbed up to the hill top took about 45mins, and no guarantee you can have nice sunrise view.
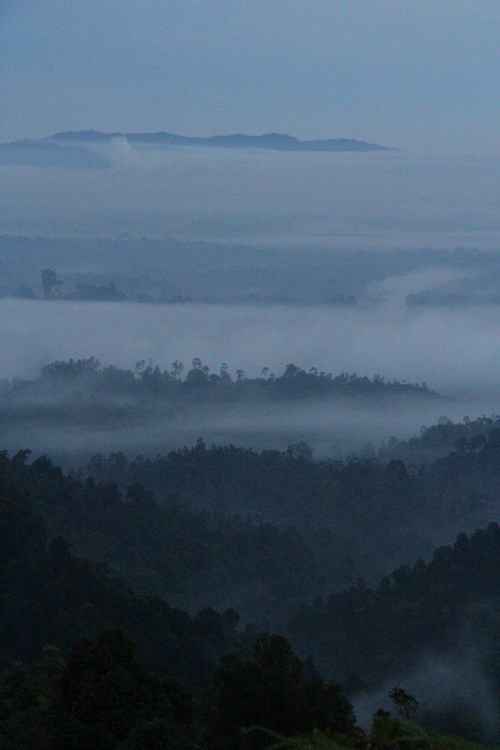
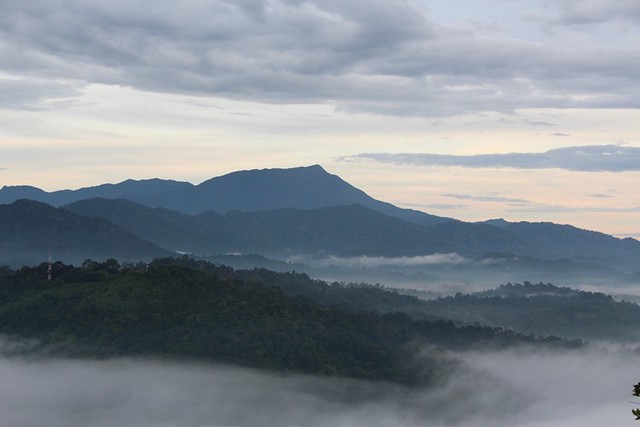
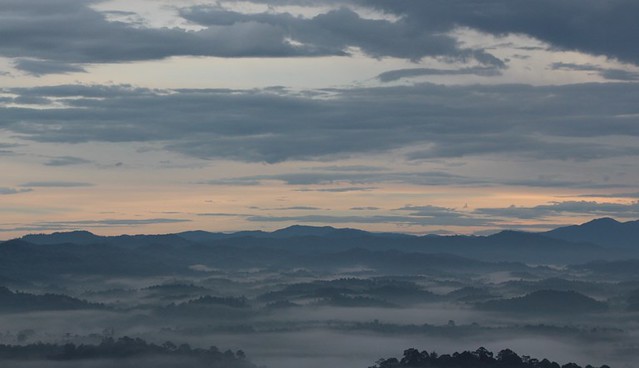
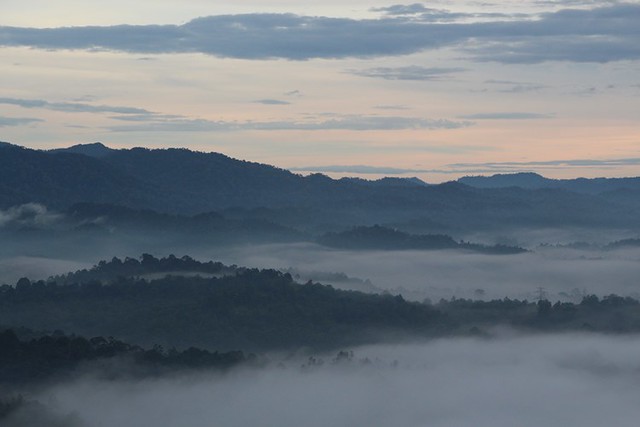
Anyway, the beautiful
云海 (sea of cloud ) and hills scenery up at the hill is worth a visit..
We went here and staying a night during the school holidays recently.
Sungai Lembing is a nice place to visit for a day or two, less than 3hrs drive from KL.
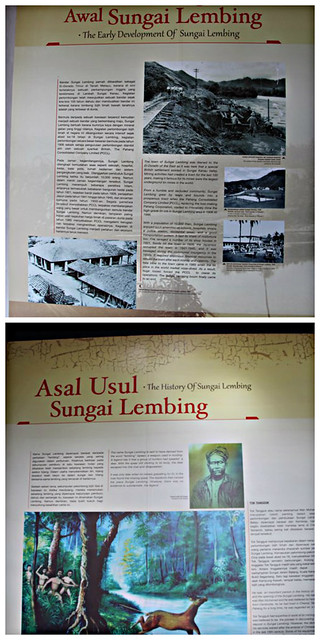
Sungai Lembing is a tin mining town 42 km northwest of Kuantan in Pahang, Malaysia. Lembing is Malay for spear, and "sungai" means river. Per local legend, the local ruler saw a vision of a spear in the nearby river and thus named his town after this vision.Until the 1970s, Sungai Lembing was a major producer of underground tin. Sungai Lembing town developed in the 1880s when the British set up the tin mining industry, although the history of mining in this area extends much further back. From 1891, the Pahang Consolidated Company Limited, (PCCL), which was under British control, had a 77-year lease to mine the area. PCCL managed the mine from 1906 until its liquidation in 1986 when world tin prices collapsed.**extracted from Wikipedia
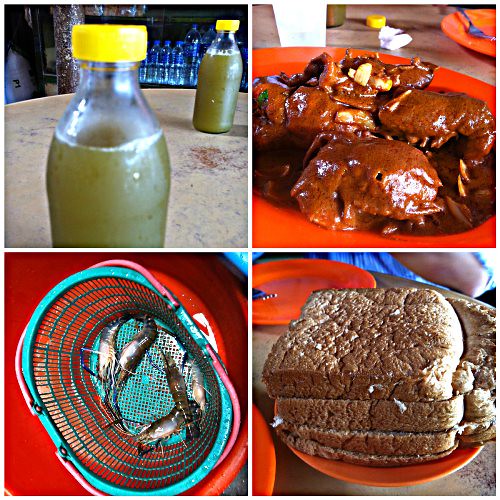
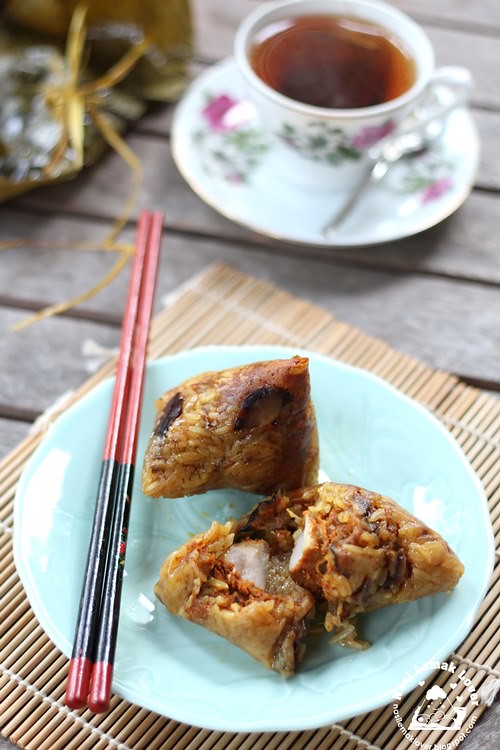
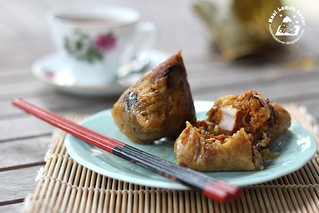
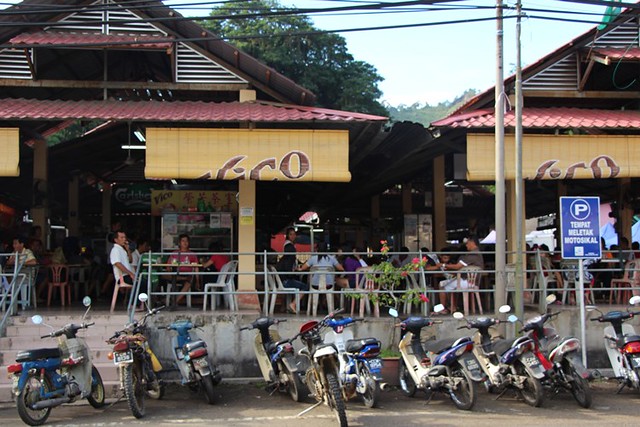
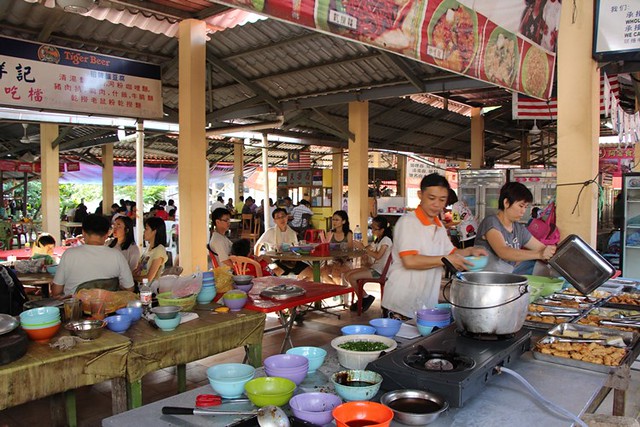
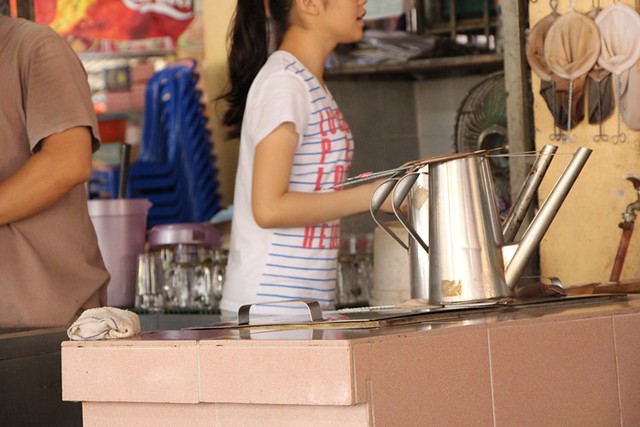
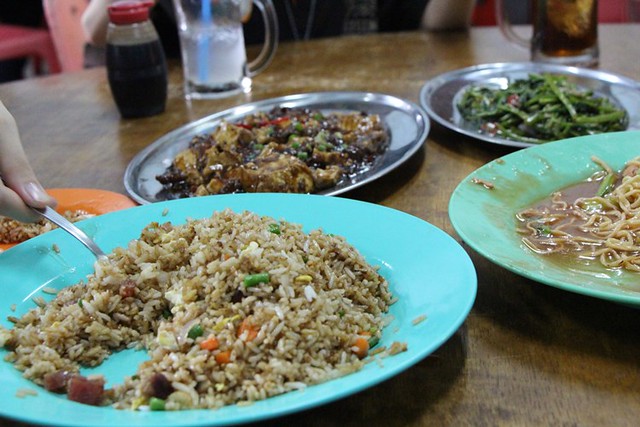
We departed from home at 6am, as we planned to take breakfast at the Sg.Lembing. This is the only Chinese hawker center located at the Pasar Sg Lembing (market).
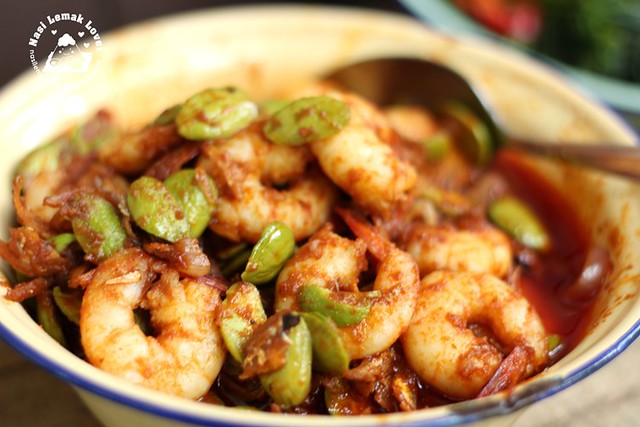
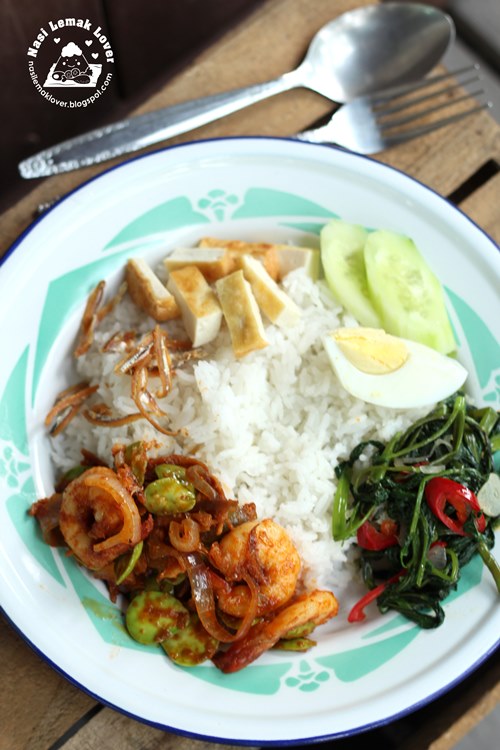
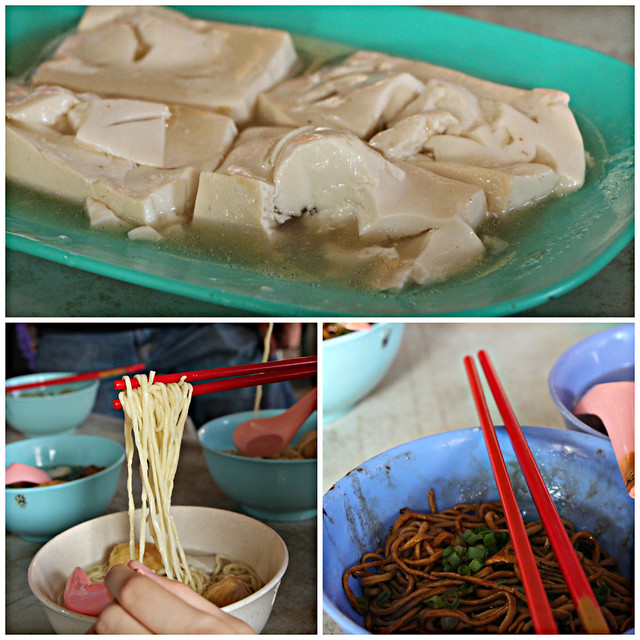
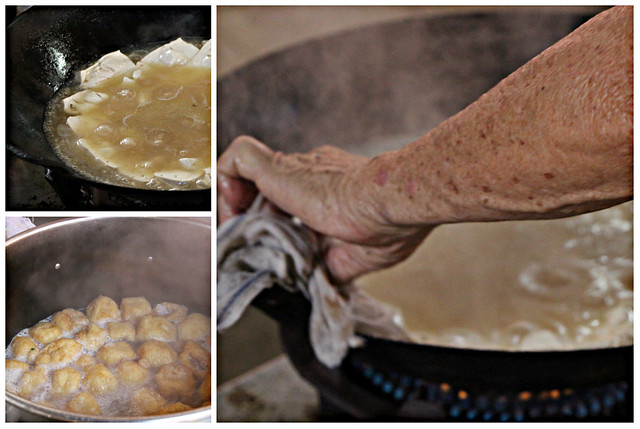
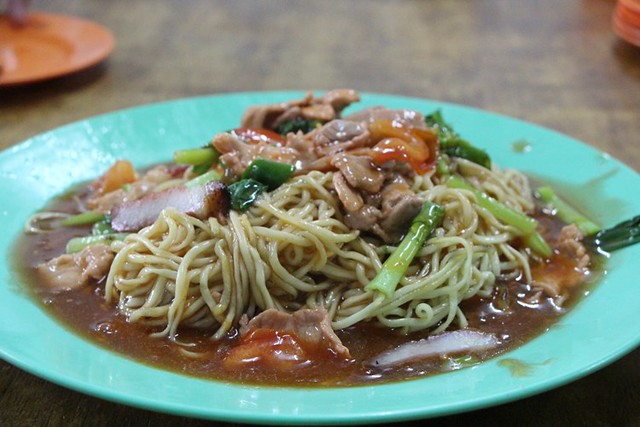
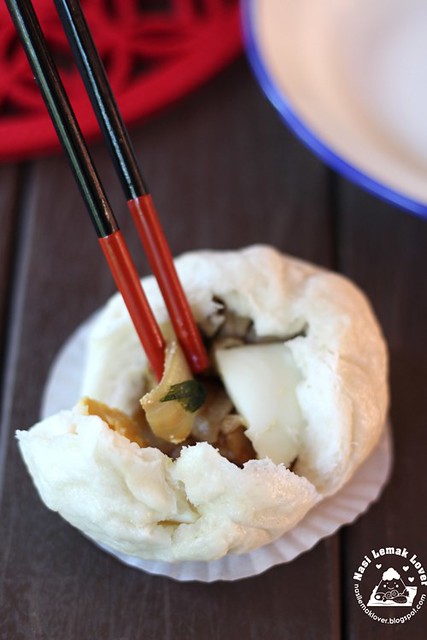
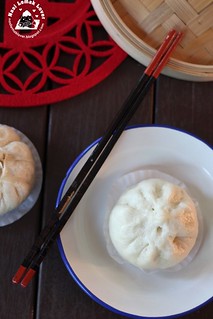
Come to Sg.Lembing, sure must try their famous "soft stuffed tofu 林明豆腐" and " Sg. Lembing noodles 林明麵"..
Oh, the tofu is silky smooth, good ! As for the Sg.Lembing noodles, not as springy as expected, similar like yellow noodles here but this noodle is less alkaline added..
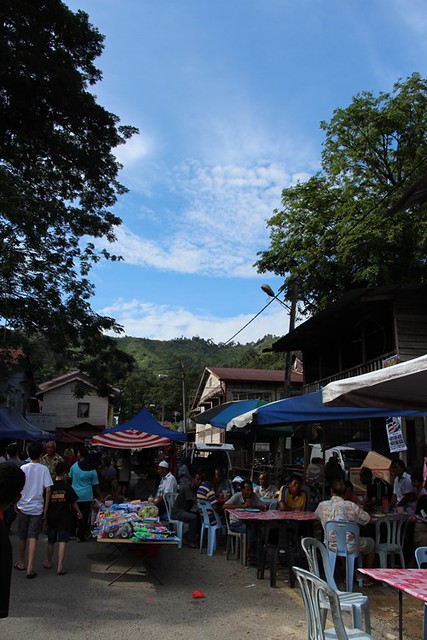
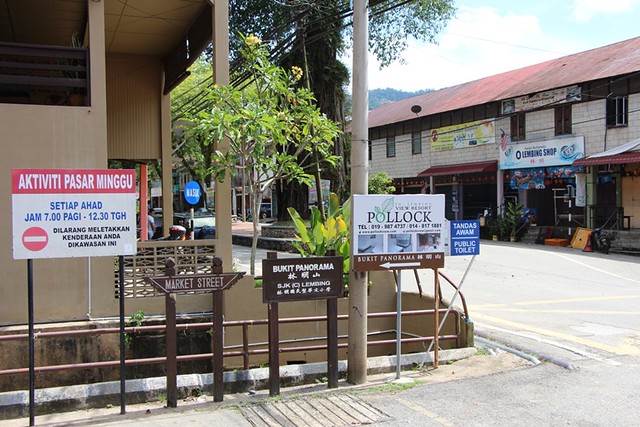
Pasar Sg. Lembing (wet market)
Sunday morning market
![IMG_6628]()
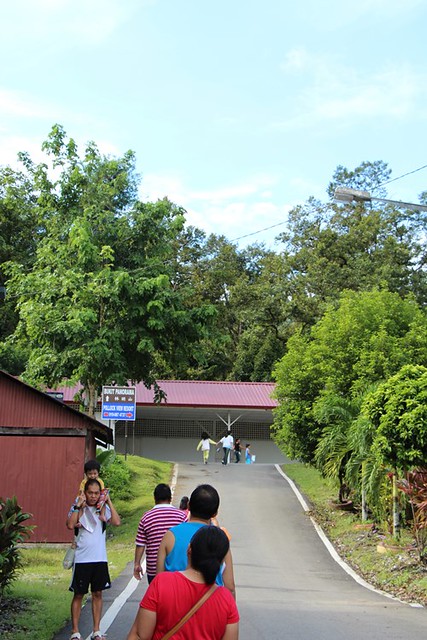
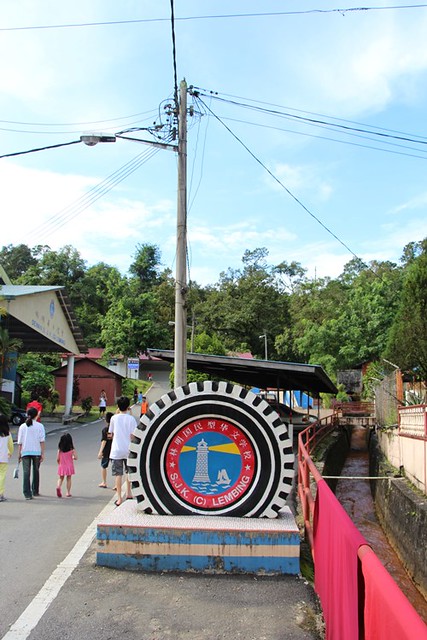
The road beside the market is the road where leads you to Panorama hill for sunrise view.
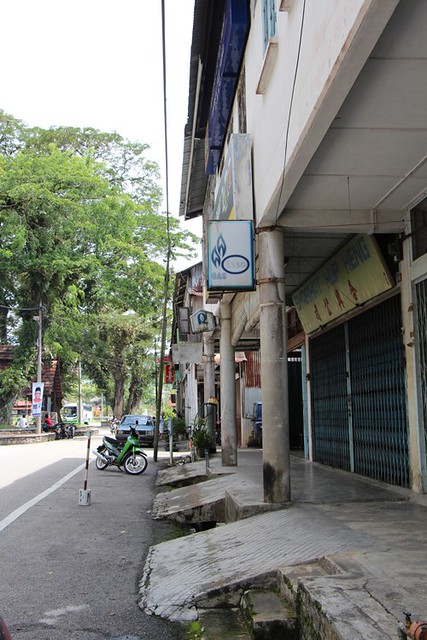
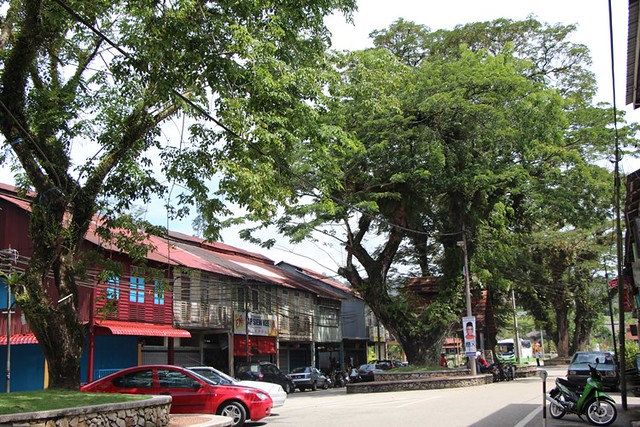
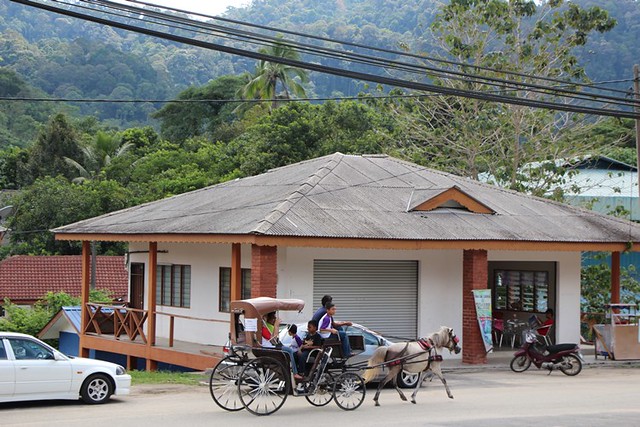
After breakfast, we walked around and it only took us 10mins to walk the whole town, really a small town..
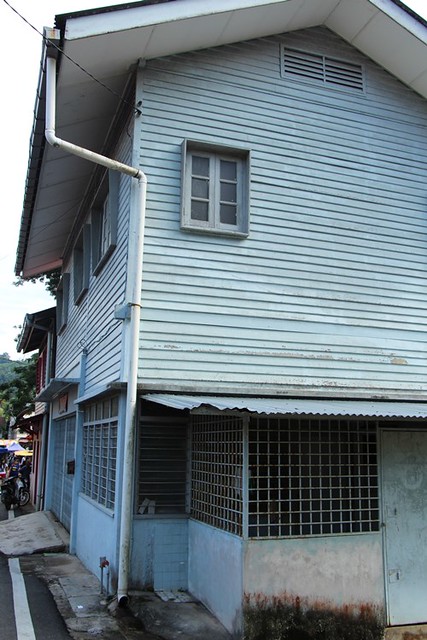
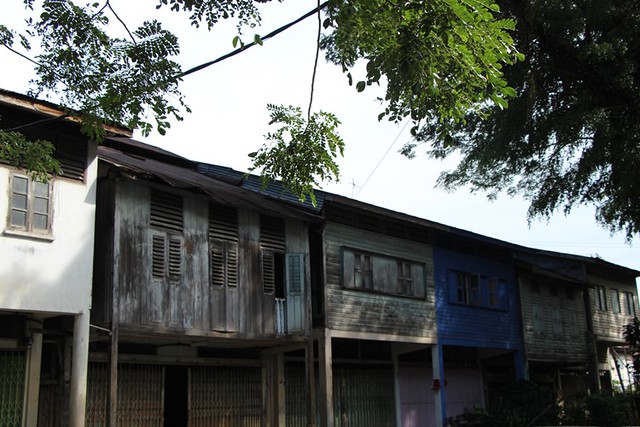
back lane..
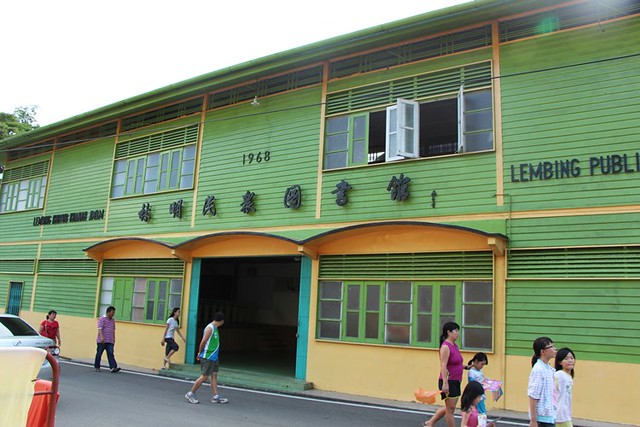
Public library
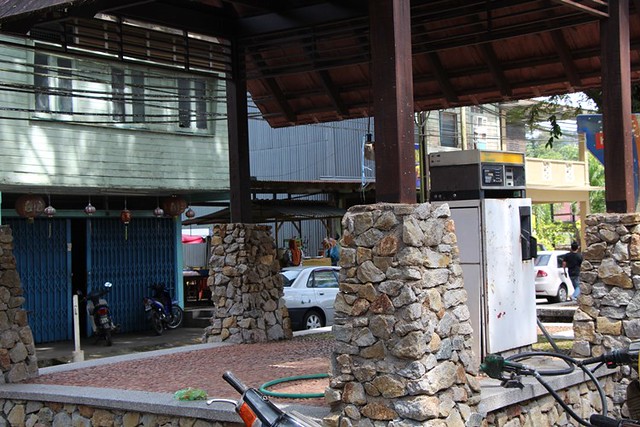
I think this is the smaller petrol station in Malaysia !!
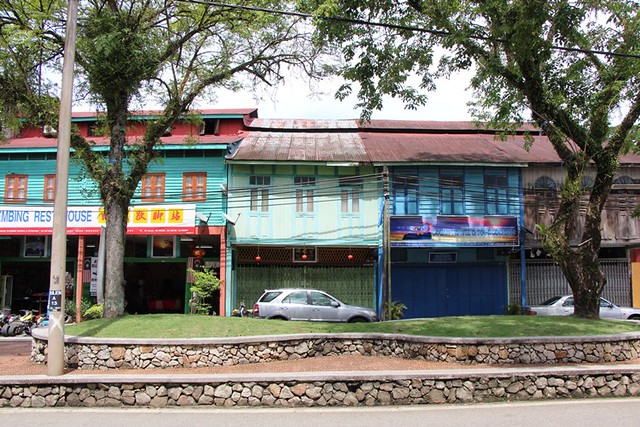
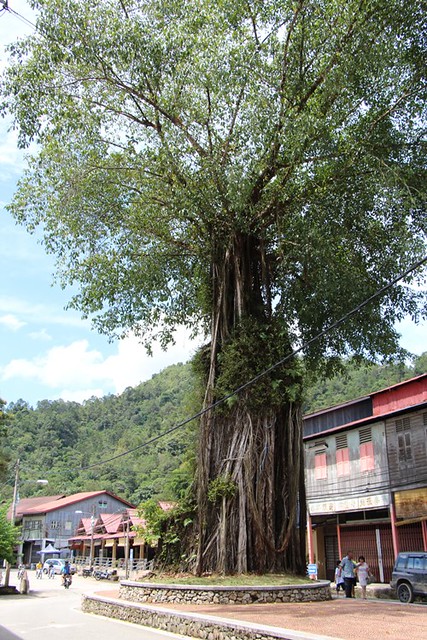
A relaxing small town !!
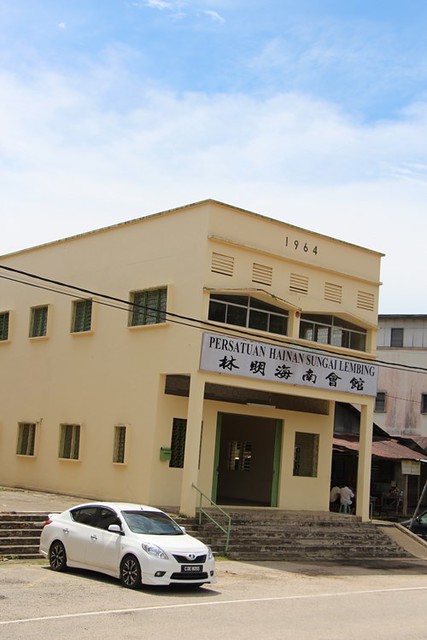
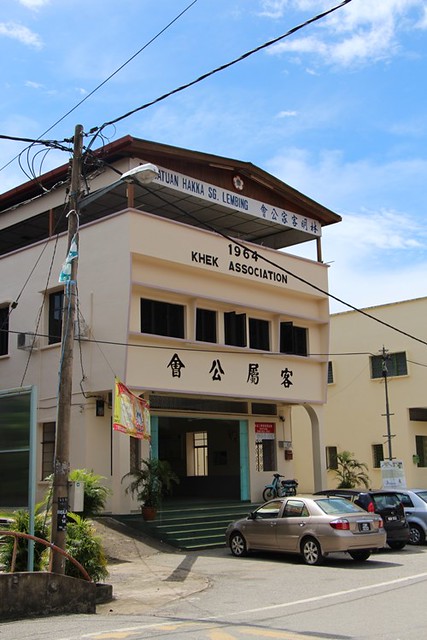
The residents here are mainly Hainanese and Hakka
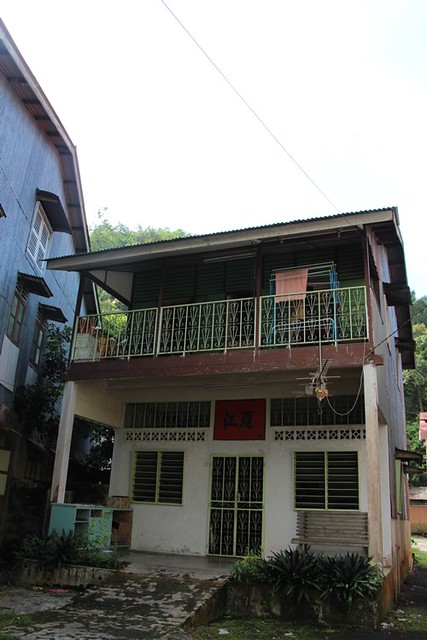
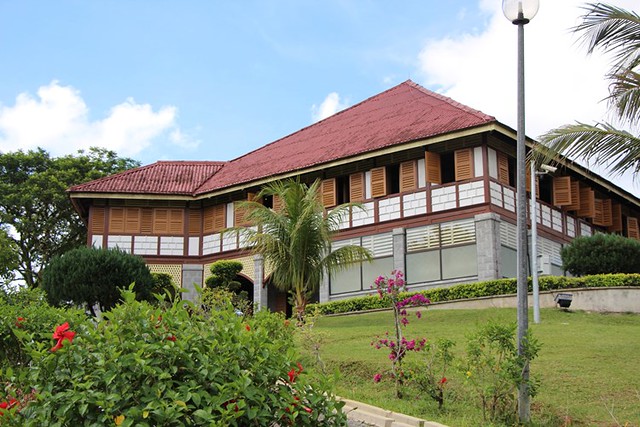
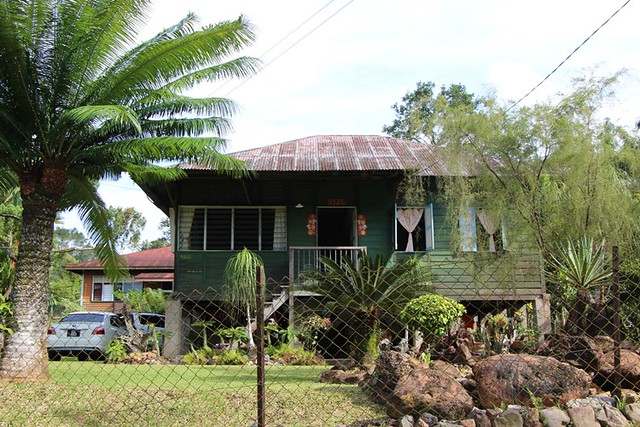
This is the place we were staying for a night, remind me of the old house when I was a kid..
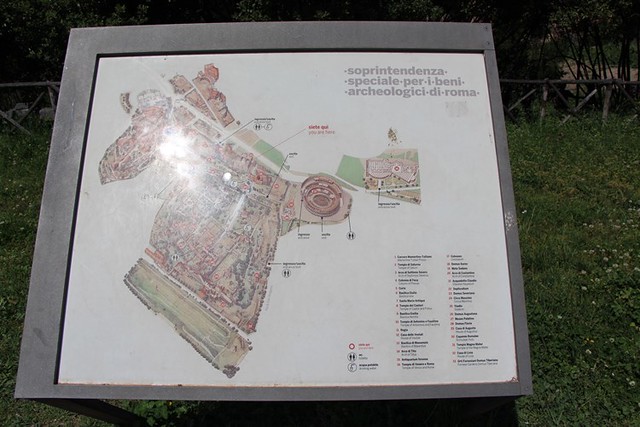
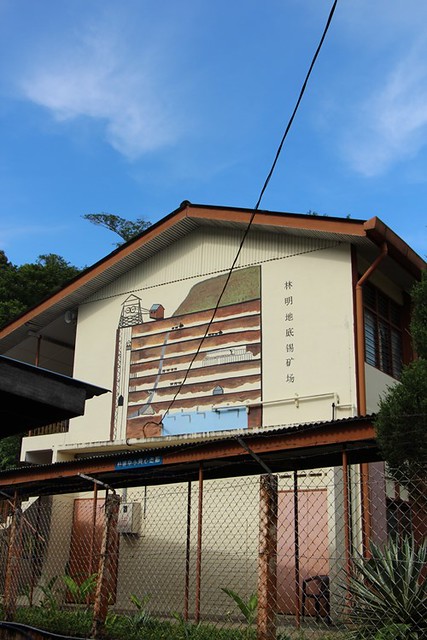
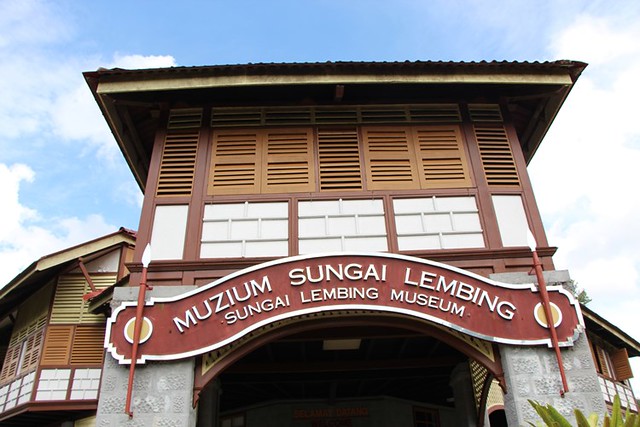
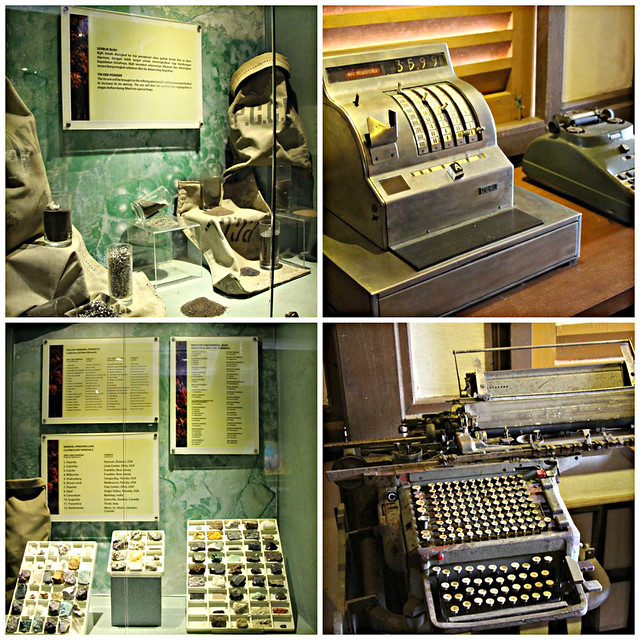
The best place to understand the history of a place is go to visit museum.
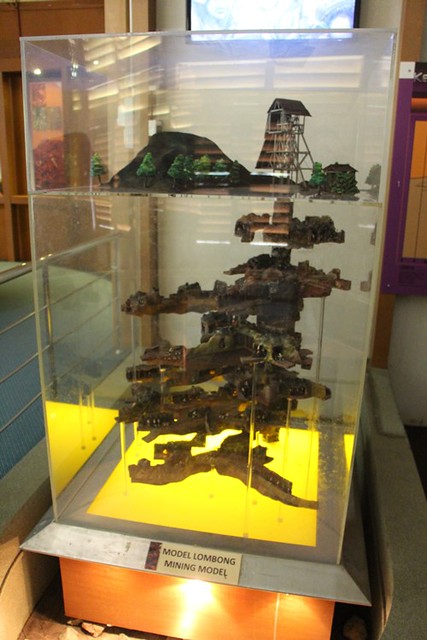
Sg. Lembing has the largest and deepest tin mining in the world
various old collections
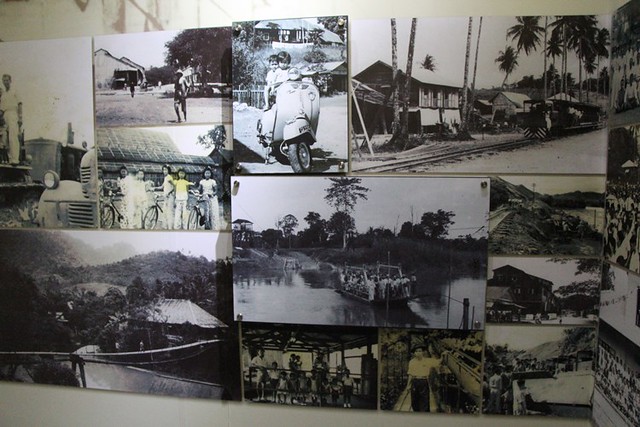
Sg Lembing's glorious days of the tin mining activities.
We went to the same restaurant for lunch and dinner because not many restaurant around. This shop has famous Lembing tomato noodles (it was recommended in Ah Xian's TV program)..My daughter said my
tomato noodles is nicer than this, hahaha..
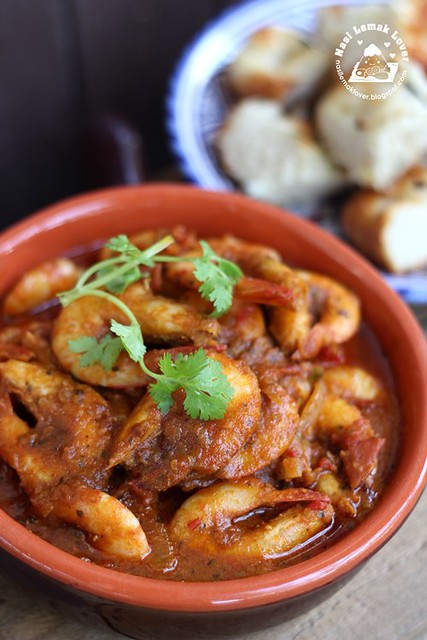
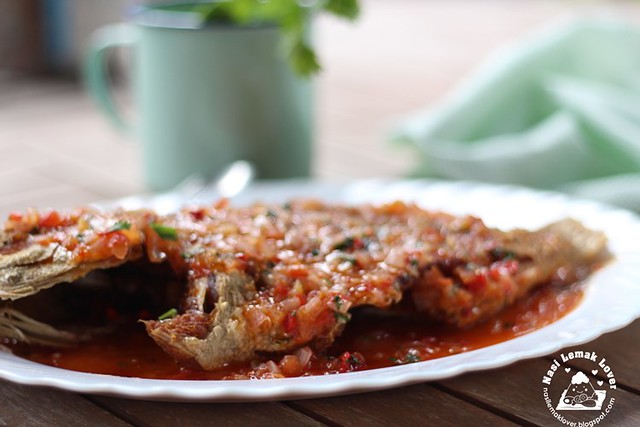
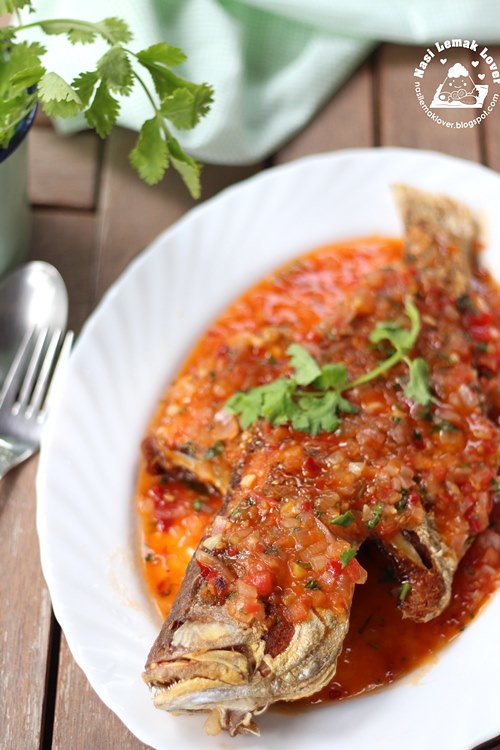
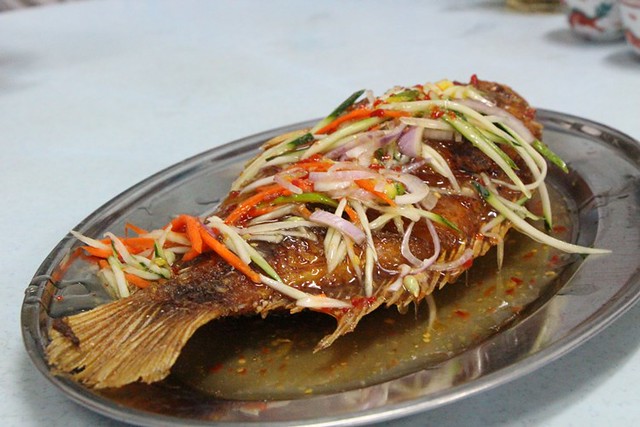
We love this nice mango river fish..
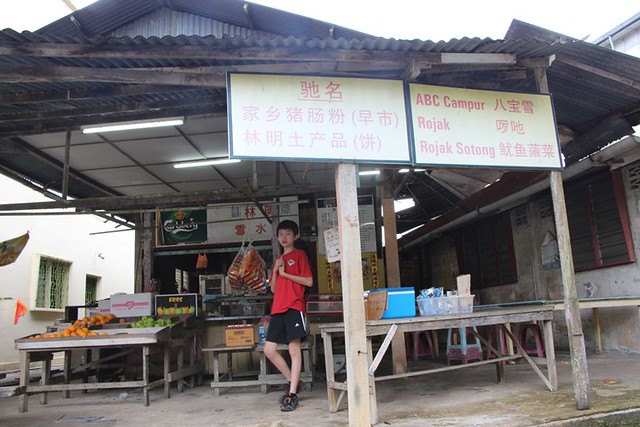
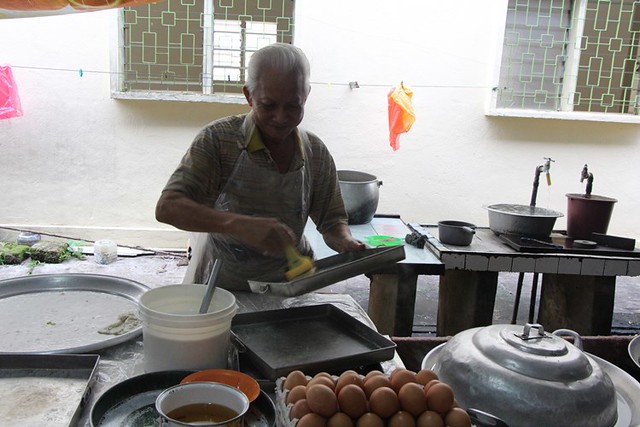
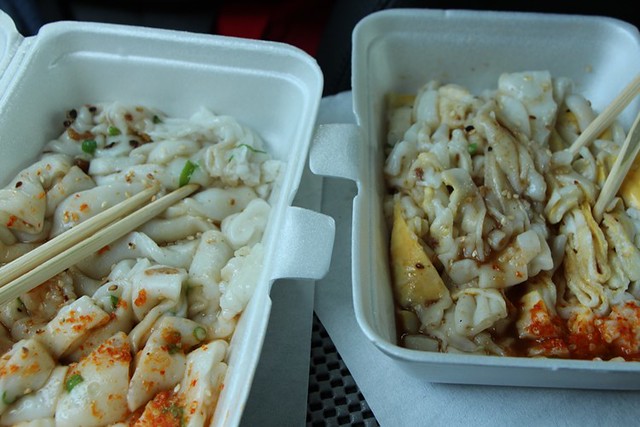
we also bought "Cu Cheong Fun" flat rice sheets from this famous stall
this stall is run by an old couples
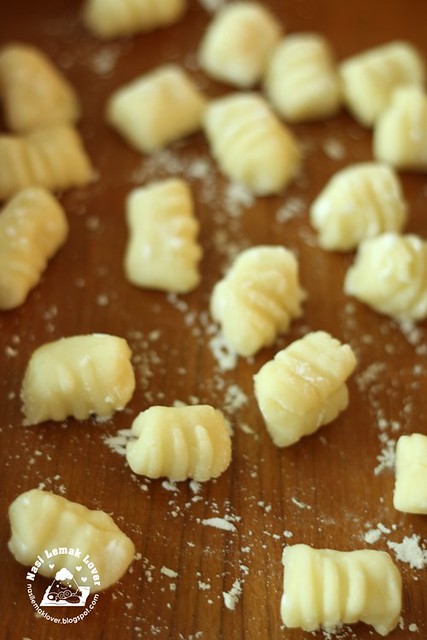
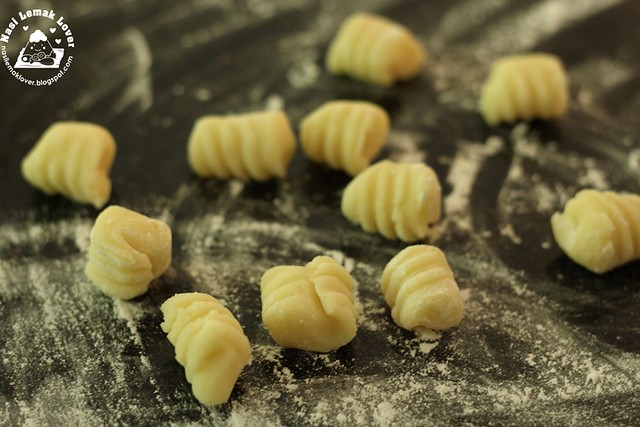
I need to find one day to make this at home ^_^
something just simple and nice, and it is cheap, RM 0.80 for a plain one and RM 1.40 for adding egg..
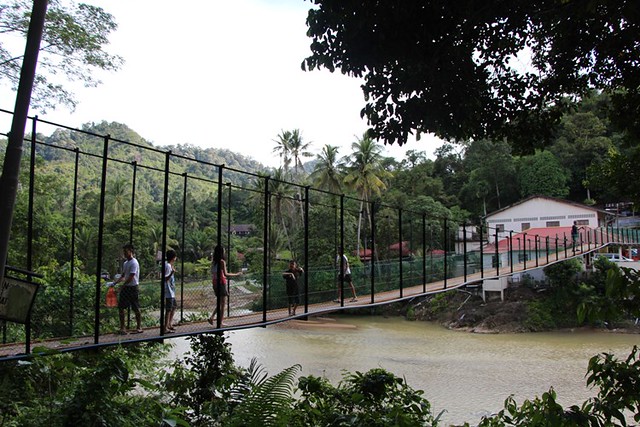
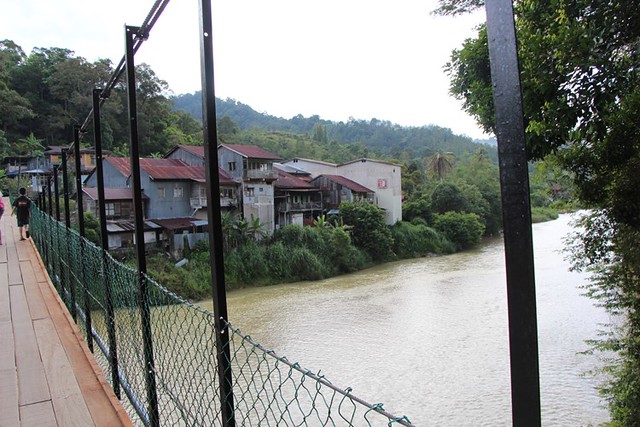
we also went to this " hanging bridge 吊桥"
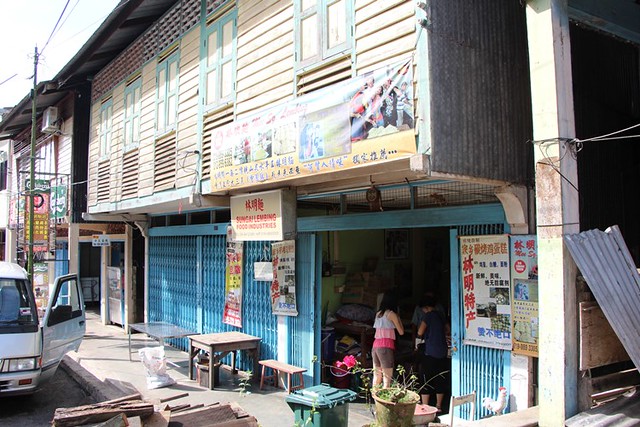
after across this hanging bridge, we reached to the only factory which producing Lembing noodles..
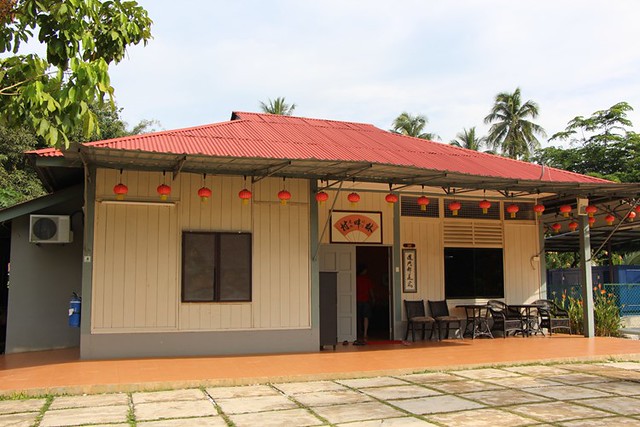
saw this nice kampong house
At night, this small town even more quiet..
We slept earlier because prepare to wake up at 4.30am the next day !!
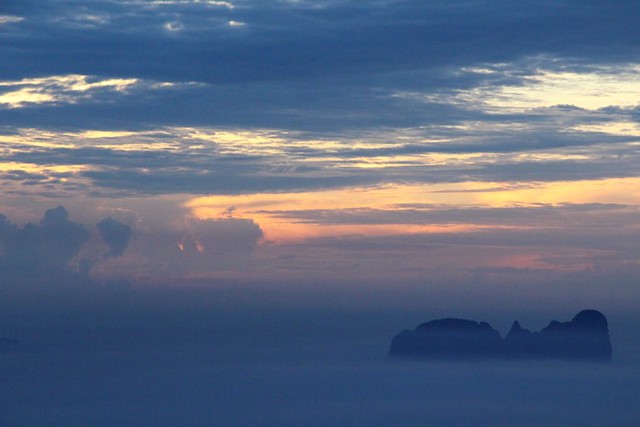
sunrise view at Bukit Panorama ..
They must be quite disappointed can't see nice sunrise after setting up the tripod at the good spot !
![IMG_6878]()
![IMG_6917]()
Now I only can see the stairs that we were climbed up
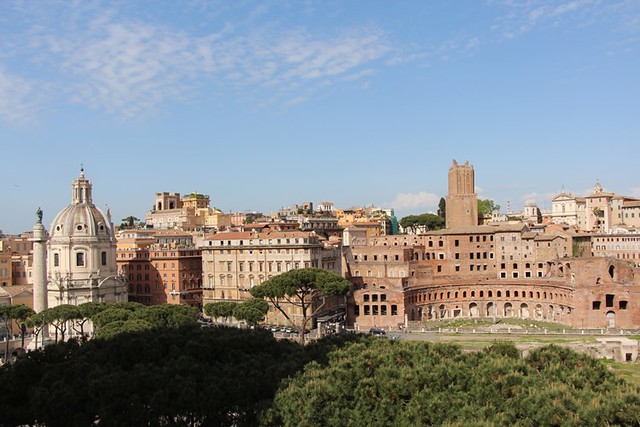
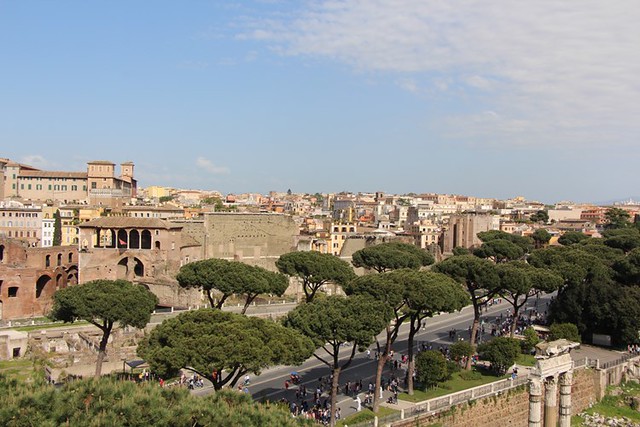
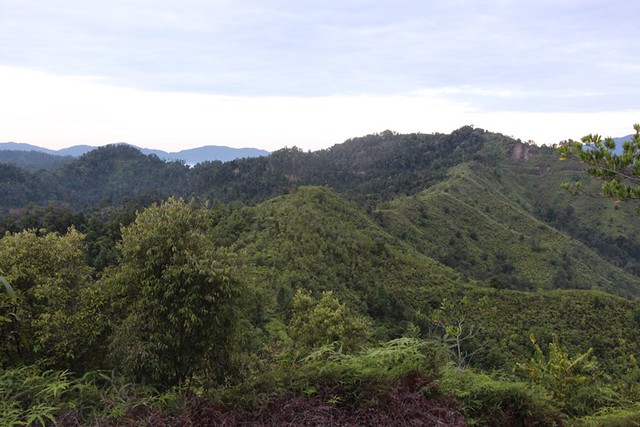
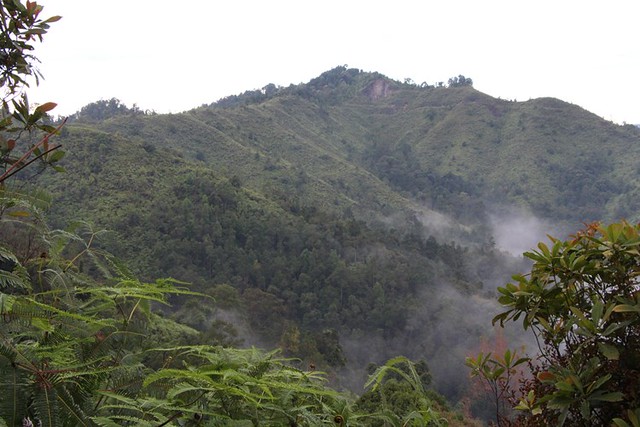
These were the scenery we saw when we went down from the hill. I couldn't believe Malaysia also has such beautiful place, don't need to go China to see this kind of hills scenery..
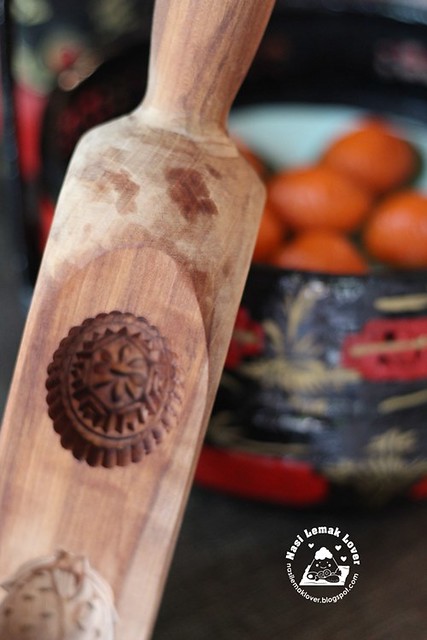
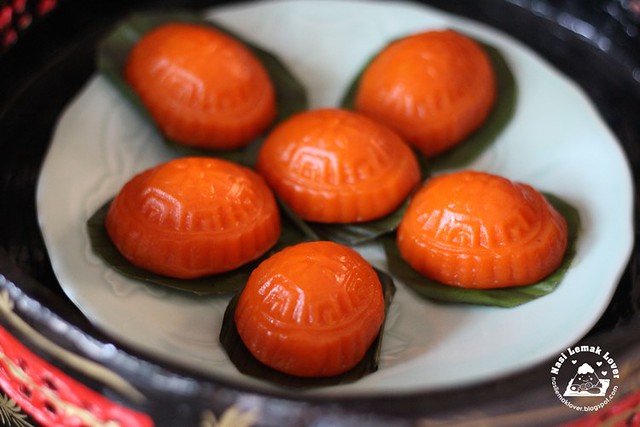
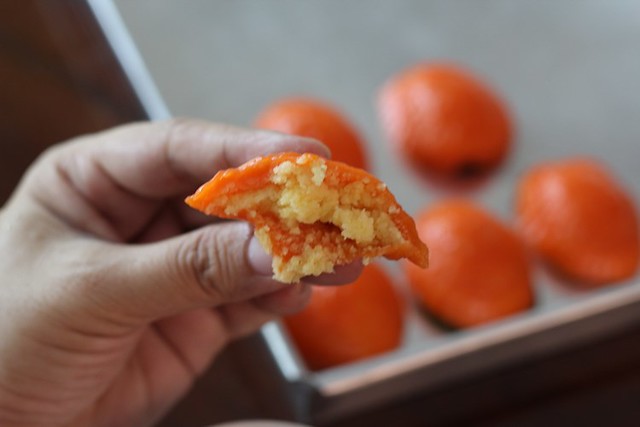
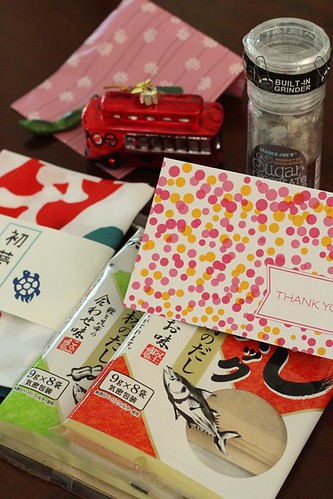
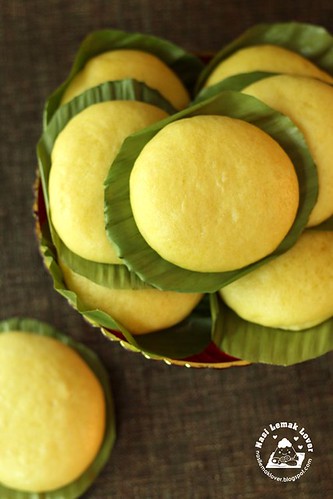
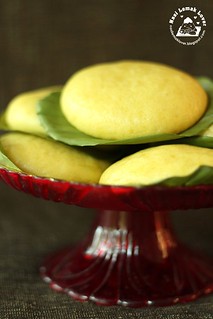
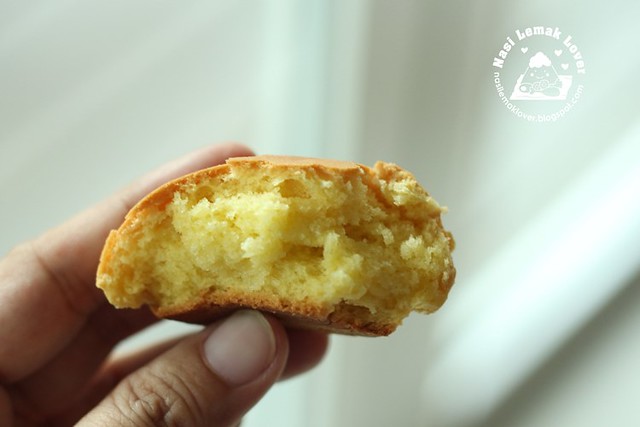
You can also buy some the coconut cookies to bring home..
We definitely will visit again until we see the sunrise !! also wanted to visit
rainbow waterfall..
Try to avoid this place on weekend, very crowded, best to visit on weekdays..